SAO JAEGERS 6 INCH F/10 "GELINDA J. DAWSON" REFRACTOR OTA BUILD OVERVIEW

Page 9 of 10


Main Tube, Dew Shield with Lens Cell test fitted after painting - 1 (Click to go to page) Main Tube, Dew Shield with Lens Cell test fitted after painting - close-up - 2 (Click to go to page) Handles components for OTA - uncut - 1 (Click to go to page) Handles supports cut out for OTA - 2 (Click to go to page) Handles supports for OTA being bored for metal handles - 3 (Click to go to page)
Metal Handles and Handle Supports for OTA - The supports are ready for painting - seperated - 4 (Click to go to page) Metal Handles and Handle Supports for OTA - The supports are ready for painting - test fitted - 5 (Click to go to page) Metal Handles and Handle Supports for OTA - The supports are ready for painting - test fitted - 6 (Click to go to page) Metal Handles and Handle Supports for OTA painted with Hammered Finish Rustoleum - 7 (Click to go to page) Engraving Main Tube in preparation to install the Handles - 8 (Click to go to page)
 Marked one side of  Handles Support with an "X" to make certain they were installed evenly spaced - 9 (Click to go to page)  Marked opposite side of  Handles Support with an "O" to make certain they were installed evenly spaced - 10 (Click to go to page) Template used to aid in properly spacing the Handles before installation - 11 (Click to go to page) ProtoStar flock material wrapped around Baffle Rack ready to be installed in Main Tube - 1 (Click to go to page) ProtoStar flock material wrapped around Baffle Rack ready to be installed in Main Tube - a look from the rear end - 2 (Click to go to page)
ProtoStar flock material wrapped around Baffle Rack ready to be installed in Main Tube - a look from the front end - 3 (Click to go to page) ProtoStar flock material and Baffle Rack installed in Main Tube - - rear angled view - 4 (Click to go to page) ProtoStar flock material and Baffle Rack installed in Main Tube - front view - 5 (Click to go to page) OTA Handles installed on Main Tube - Rear View - 6 (Click to go to page) OTA Handles installed on Main Tube - Left Rear View - 7 (Click to go to page)
OTA Handles installed on Main Tube - Right Rear View - 8 (Click to go to page) Focuser Backplate, Support and Crayford focuser base installed on Main Tube - 9 (Click to go to page) Focuser installed and racked in on Main Tube - 10 (Click to go to page) Focuser installed and racked out on Main Tube - 11 (Click to go to page) Rear Lens Cell installed on Main Tube - 12 (Click to go to page)
OTA assembly ready to receive the Front Lens Cell mounted with objective - 13 (Click to go to page) Making of template for use in installing aluminum spacers Step One - 14 (Click to go to page) Making of template for use in installing aluminum spacers - Step Two - 15 (Click to go to page) Making of template for use in installing aluminum spacers - Step Three - 16 (Click to go to page) Making of template for use in installing aluminum spacers - Step Four - 17 (Click to go to page)
                                                       

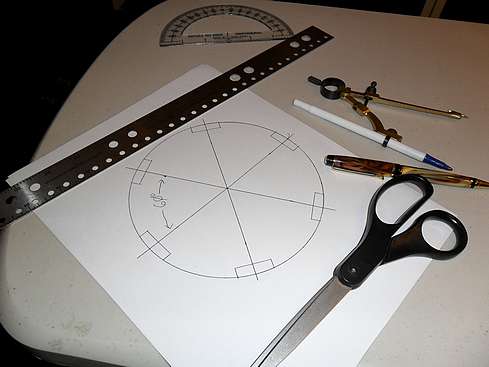
With painting complete, test fit of the external components, followed by the fabrication of the maneuvering handles for the OTA took place. She is really coming together and looking fine! After the test fit, official assembly of the OTA began. As always, if you have any questions or comments, please forward them the email address below: 

vsc-astronomers@vega-sky-center.com
 

Back to Page 8 of 10 Page 9 of 10 Go to Page 10 of 10