SAO JAEGERS 6 INCH F/10 "GELINDA J. DAWSON" REFRACTOR OTA BUILD OVERVIEW

Page 7 of 10


With all holes drilled, baffle rack assembly is now underway - 41 (Click to go to page) All four baffles installed on rack ready for proper spacing - 42 (Click to go to page) Setting proper spacing between first and second baffles - 43 (Click to go to page) The completed baffle rack looking down from front to back - 44 (Click to go to page) The completed baffle rack ready to be notched - 45 (Click to go to page)
The completed baffle rack and cut-off tool that will be use to create the notches - 46 (Click to go to page) The completed baffle rack being notched for sliding weight bar nuts - 47 (Click to go to page) The completed baffle rack notched for sliding weight bar nuts - 48 (Click to go to page) Getting ready to grind the notches in the baffles for the guide scope nuts - 49 (Click to go to page) Nothches ground in the baffles for the guidescope nuts - 50 (Click to go to page)
Test fit in main tube of completed baffle rack after all notches were ground - view from back-end - 51 (Click to go to page) Test fit in main tube of completed baffle rack after all notches were ground - view from front-end - 52 (Click to go to page) Completed baffle primed and ready for flocking - 53 (Click to go to page) Completed baffle rack flocked and ready for installation - 54 (Click to go to page) Flocking epoxied guidescope nuts inside main tube - 55 (Click to go to page)
Flocking epoxied weight bar nuts inside main tube - 56 (Click to go to page) Progressive sanding grits for prepping the Dew Shield for painting - 2 (Click to go to page) 60-grit sanding of Dew Shield - 3 (Click to go to page) 100-grit sanding of Dew Shield - 4 (Click to go to page) 220-grit sanding of Dew Shield - 5 (Click to go to page)
600-grit sanding of Dew Shield - 6 (Click to go to page) Clean-up of Dew Shield after sanding - 7 (Click to go to page) Dew Shield masked off for flocking - 8 (Click to go to page) Inside of Dew Shield masked off for flocking - 9 (Click to go to page) Initial flocking coat using Truck Bed Liner - 1 (Click to go to page)
 Cured Truck Bed Liner ready for flat black coat - 2 (Click to go to page) Cured Truck Bed Liner ready for flat black coat - showing sheen - 3 (Click to go to page) Flat Black applied to Truck Bed Liner substrate - 4 (Click to go to page) Flat Black applied to Truck Bed Liner substrate - showing light absorption - 5 (Click to go to page) Dew Shield flocked and ready for priming and paining - 6 (Click to go to page)
                                                       

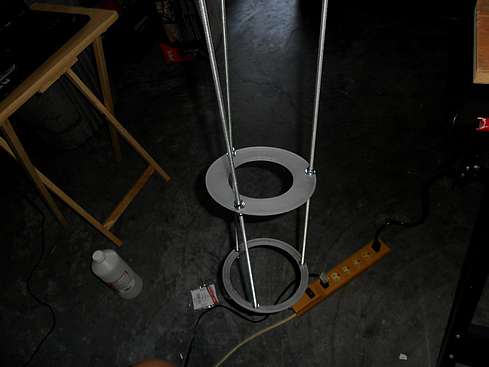
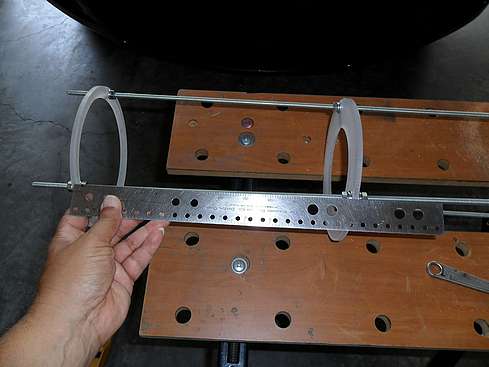
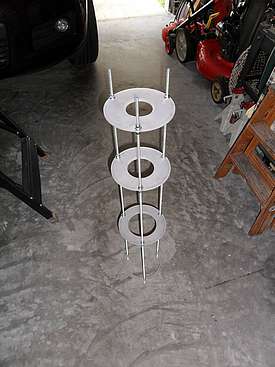
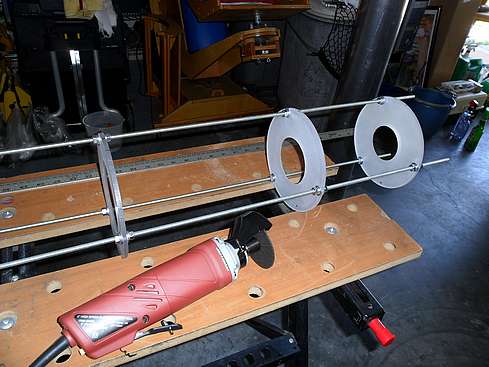
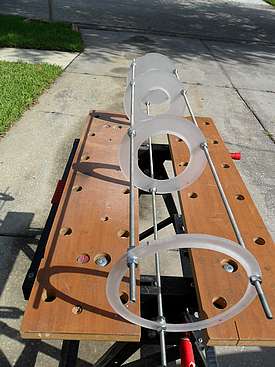
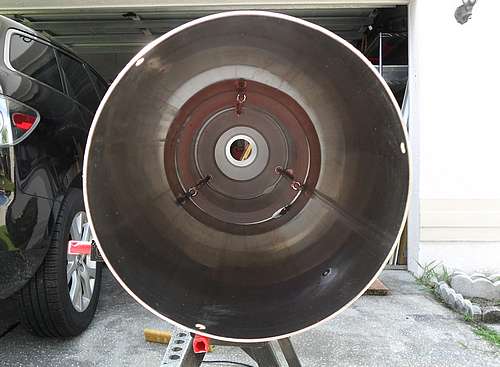
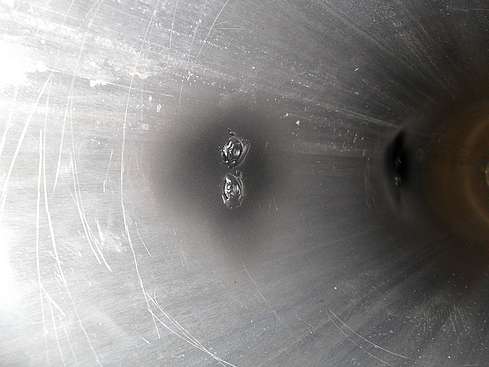
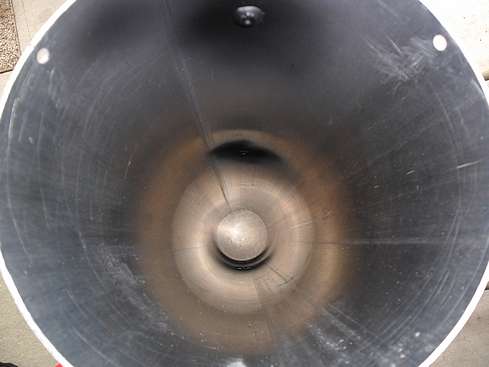
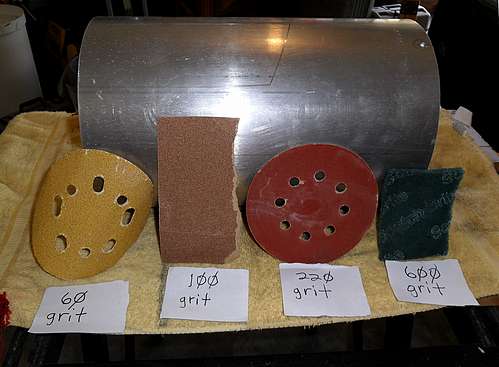
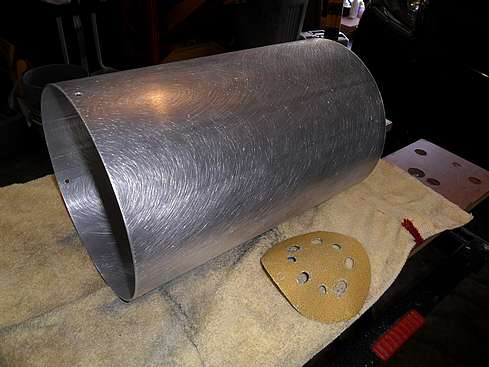
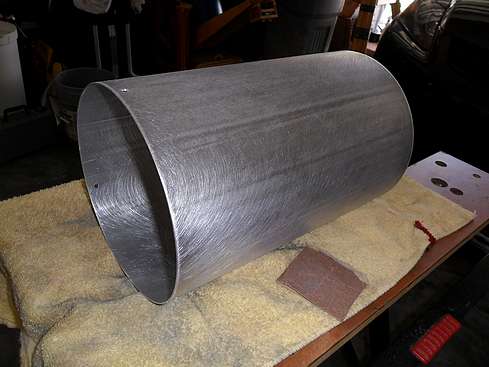
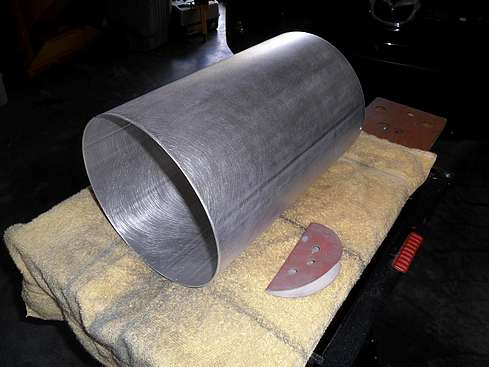
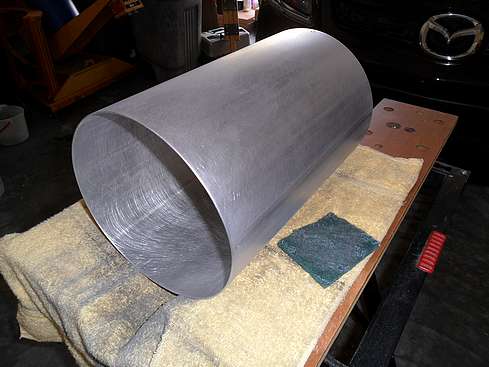
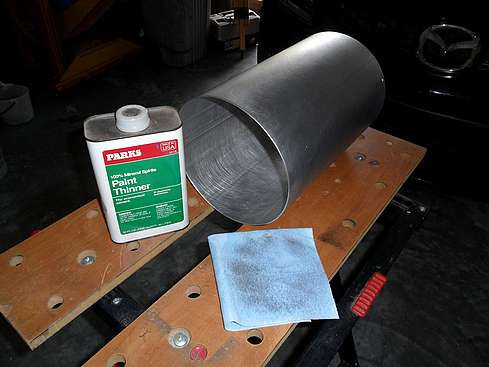
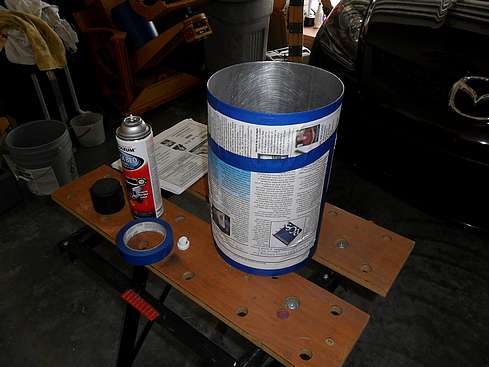
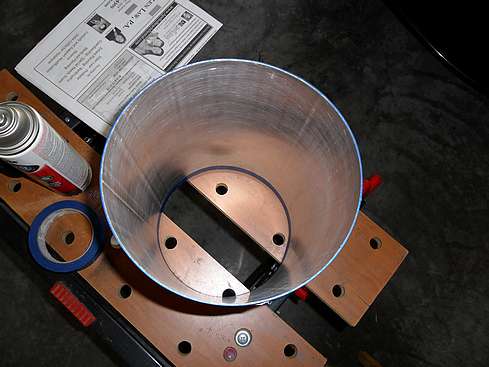
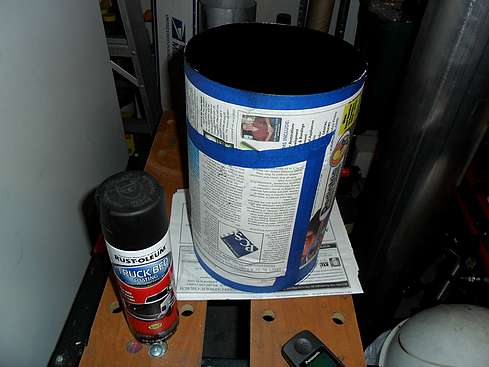
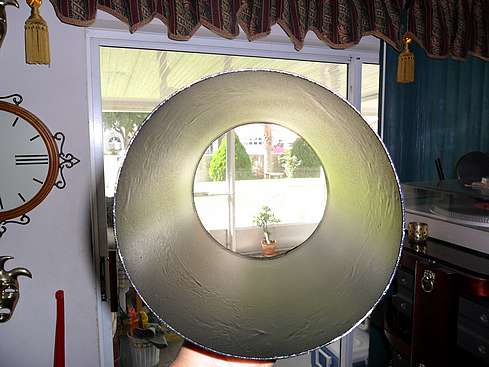
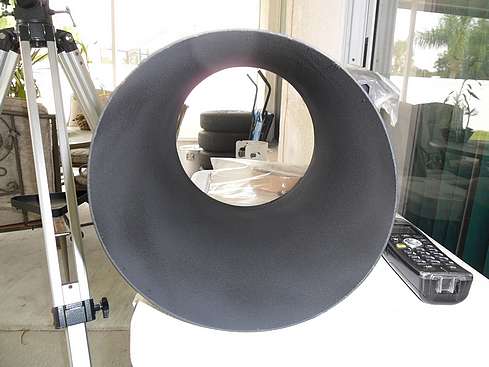
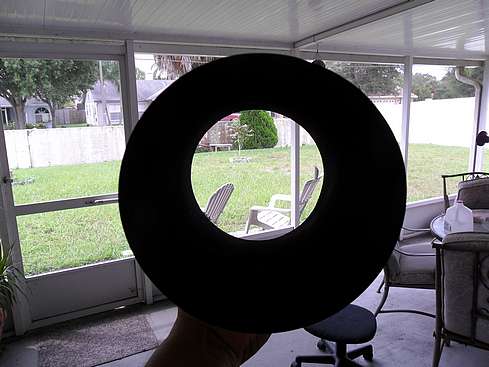
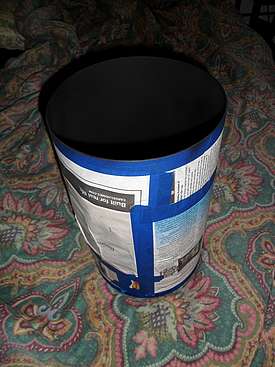
In Part 7 of 10, after the knife-edge baffles were cut out, assembly of the baffle rack began. Once the rack was built, priming and flocking was done. Sanding, and flocking of the dew shield was done as well. Again, if you have any questions or comments, please email us at: 

vsc-astronomers@vega-sky-center.com
 

Back to Page 6 of 10 Page 7 of 10 Go to Page 8 of 10