SAO JAEGERS 6 INCH F/10 "GELINDA J. DAWSON" REFRACTOR OTA BUILD OVERVIEW

Page 8 of 10


Main Tube sanding with 60-grit sandpaper - 1 (Click to go to page) Main Tube sanding with 220-grit sandpaper - 2 (Click to go to page) Main Tube sanding with 600-grit sandpaper - 3 (Click to go to page) Main Tube sanded and ready for priming and painting - 4 (Click to go to page) Used Mineral Spirits to clean Main Tube after sanding - 5 (Click to go to page)
Main Tube hung in preparation to prime - 1 (Click to go to page) Main Tube hung in preparation to prime - holes plugged - 2 (Click to go to page) Main Tube hung in preparation to prime - close-up of holes plugged - 3 (Click to go to page) Main Tube hung primed - 4 (Click to go to page) Primed Main Tube light buff sanded with 600-grit - 5 (Click to go to page)
Preparing Dew Shield for priming - masking off internal flocking - 1 (Click to go to page) Preparing Dew Shield for priming - trimming off access masking tape - 2 (Click to go to page) Dew Shield ready for priming - 3 (Click to go to page) Dew Shield primed - 4 (Click to go to page) Primed Dew Shield buff sanded with 600 grit - 5 (Click to go to page)
The spray paint I will use on the GJD - Rustoleum Sail Blue (a.k.a., Vega Blue) - 1 (Click to go to page) The spray paint I will use on the GJD - Rustoleum Sail Blue (a.k.a., Vega Blue) - rear of can - 2 (Click to go to page) Dew Shield painted with three to four light coats - side view - 1 (Click to go to page) Dew Shield painted with three to four light coats - front view - 2 (Click to go to page) Painted Dew Shield curing - 3 (Click to go to page)
First coats of paint applied to primed Main Tube - 1 (Click to go to page) Main Tube being buff sanded with 600-grit between the light coats of paint - 2 (Click to go to page) Main Tube being wiped of residue with moist paper towel after buff sanding with 600 grit between light coats of paint - 3 (Click to go to page) Main Tube being dried off with slightly damp paper towel - 4 (Click to go to page) Paint residue removed from Main Tube after wiping with paper towels - 5 (Click to go to page)
Main Tube ready for final coats of paint - 6 (Click to go to page) Safety First- Proper eye protection and ventilation is a must !!! - 7 (Click to go to page) Applying final coats of paint to Main Tube - 8 (Click to go to page) Main Tube painting complete - side view - 9 (Click to go to page) Main Tube painting complete - front view - 10 (Click to go to page)
                                                       

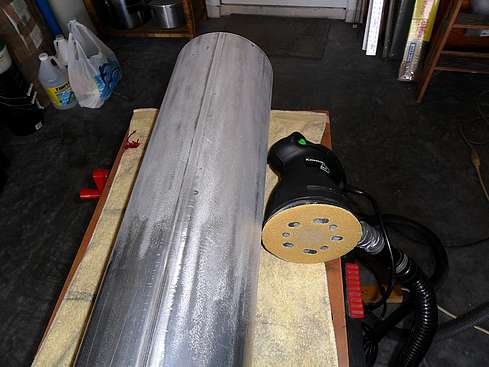
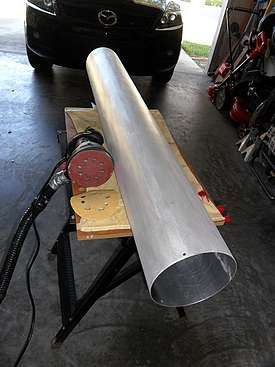
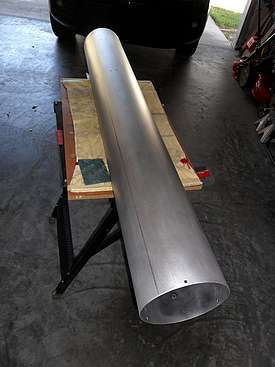
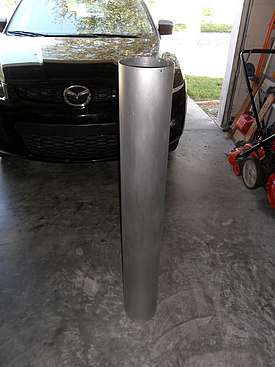
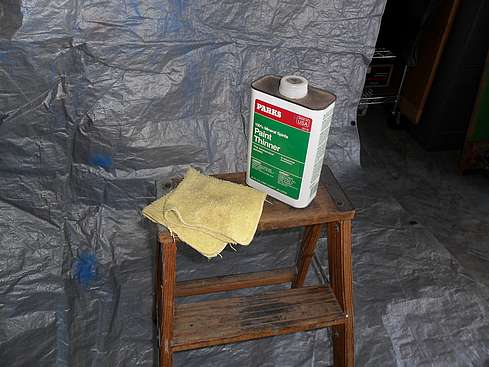
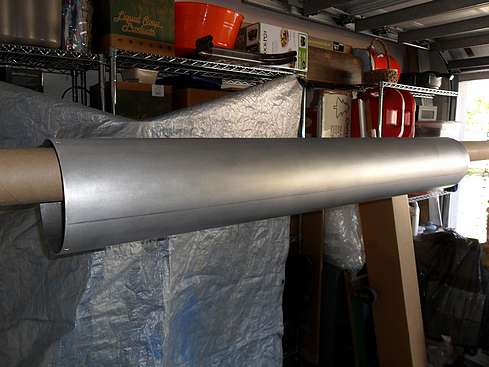
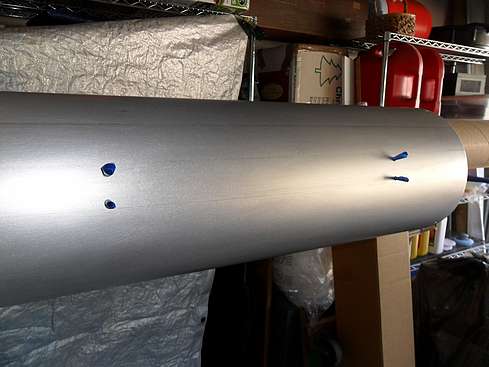
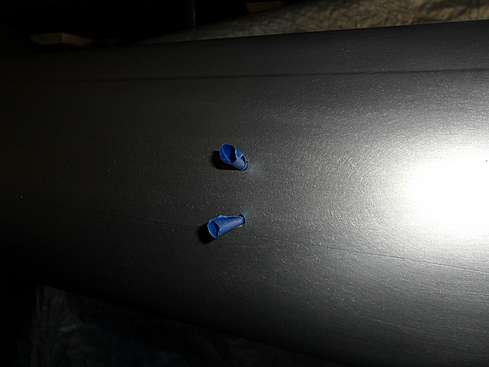
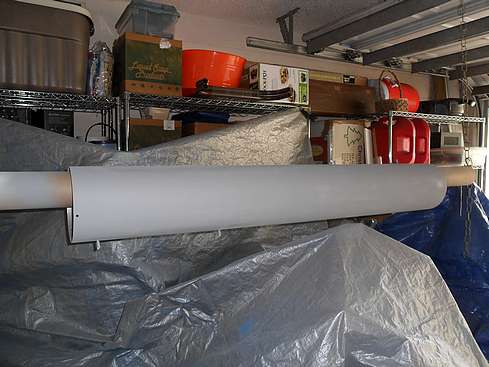
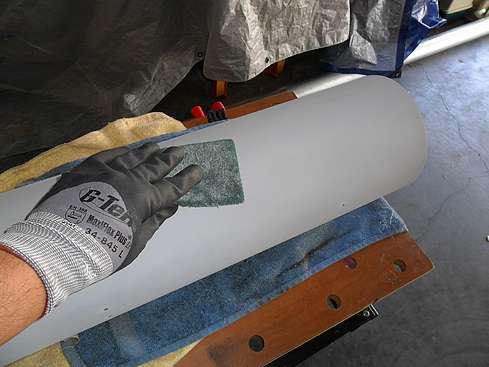
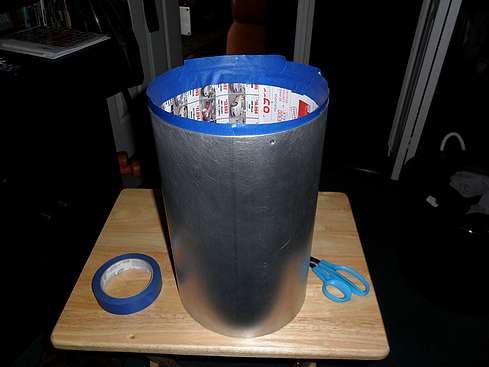
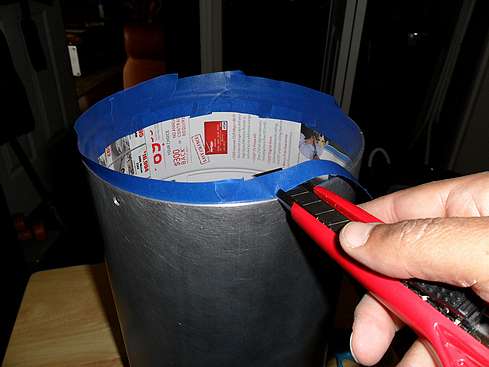
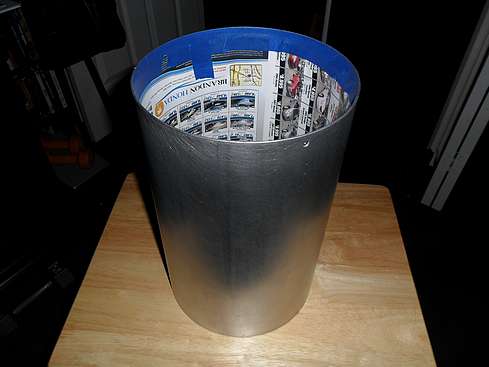
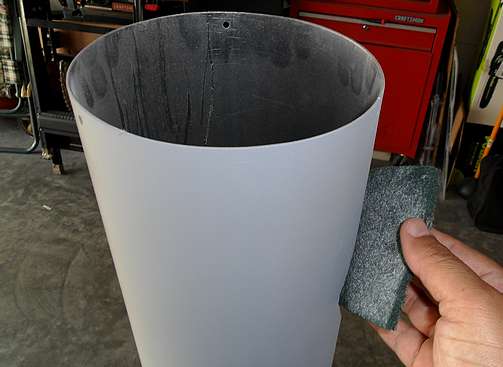
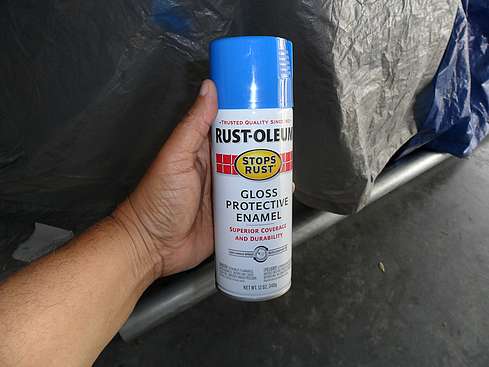
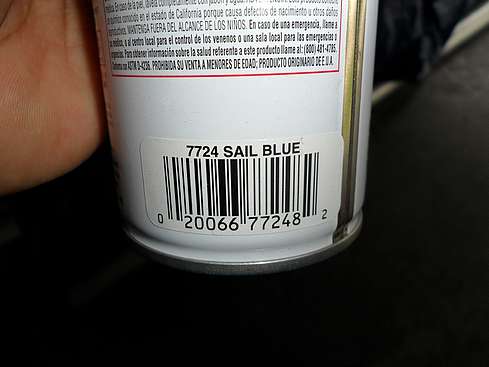
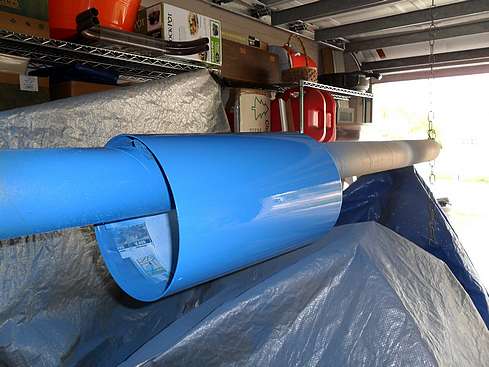
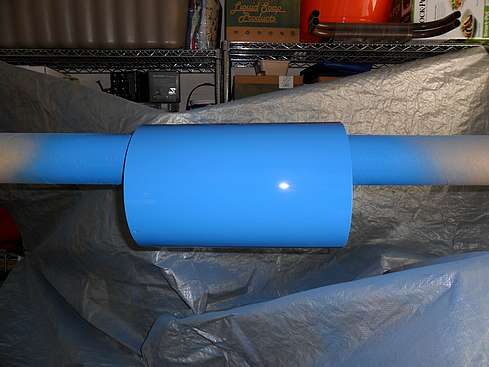
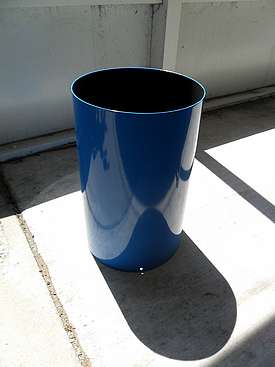
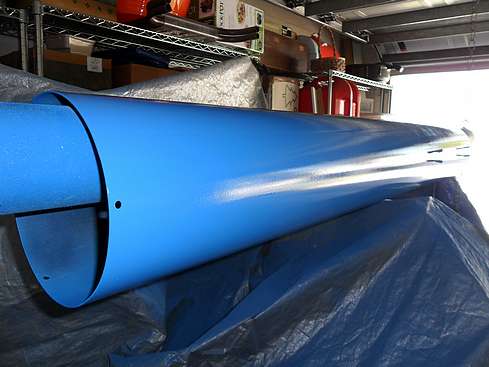
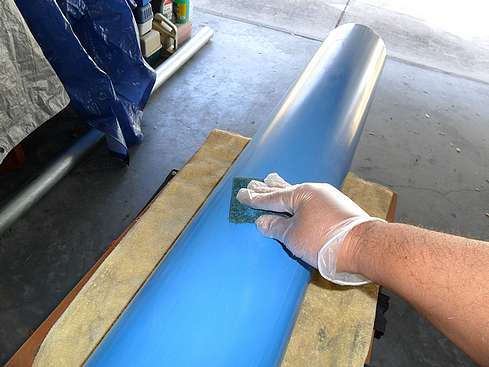
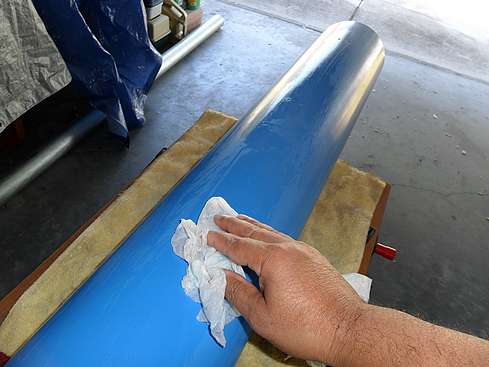
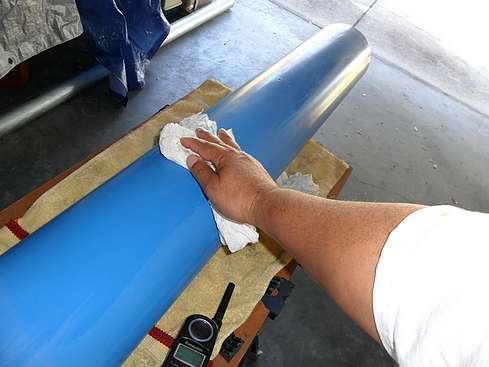
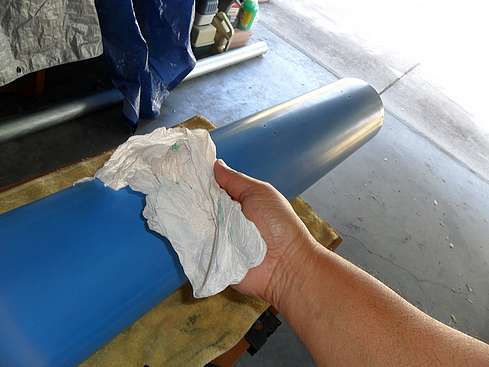
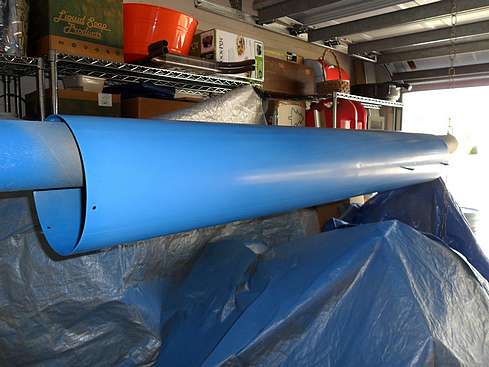
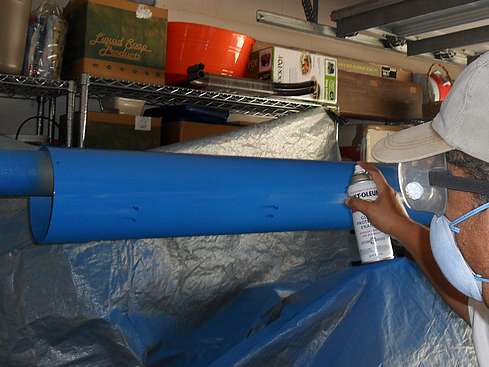
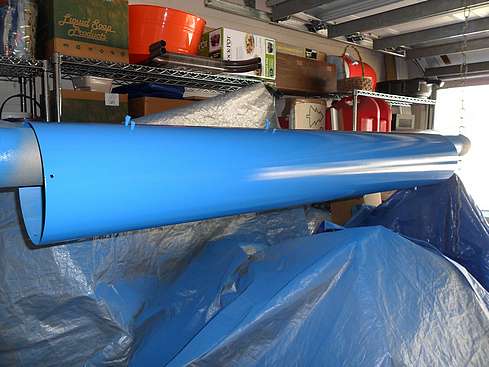
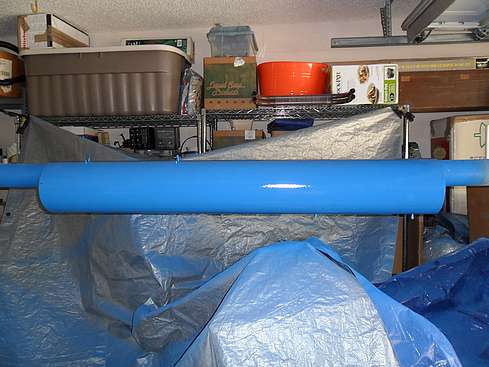
Sanding and surface preparation was performed on the main tube before priming and painting was done to the dew shield. With surface clean and smooth, priming and painting occurred. Questions or comments? Please email us at: 

vsc-astronomers@vega-sky-center.com
 

Back to Page 7 of 10 Page 8 of 10 Go to Page 9 of 10