SAO JAEGERS 6 INCH F/10 "GELINDA J. DAWSON" REFRACTOR OTA BUILD OVERVIEW

Page 5 of 10


Sanded and buffed drilled holes for Sliding Weight Bar Epoxied in Main Tube - 4 (Click to go to page) Epoxied nuts for Guide Scope and Sliding Weight Bars in Main Tube - Objective End - 1 (Click to go to page) Epoxied nuts for Guide Scope and Sliding Weight Bars in Main Tube - Focuser End - 2 (Click to go to page) Main Tube ready for application of ProtoStar FlockBoard Material - 1 (Click to go to page) ProtoStar FlockBoard Material unrolled - 2 (Click to go to page)
ProtoStar FlockBoard Material rerolled for fitting and trimming in Main Tube - 3 (Click to go to page) ProtoStar FlockBoard Material rerolled and placed in Main Tube - 4 (Click to go to page) ProtoStar FlockBoard Material rerolled and placed in Main Tube - 5 (Click to go to page) ProtoStar FlockBoard Material unrolled while in Main Tube - 6 (Click to go to page) ProtoStar FlockBoard Material unrolled in Main Tube being positioned and marked for trimming - 7 (Click to go to page)
ProtoStar FlockBoard Material removed from Main Tube after being marked for trimming - 8 (Click to go to page) ProtoStar FlockBoard Material removed from Main Tube after being marked for trimming - 9 (Click to go to page) ProtoStar FlockBoard Material trimmed and placed back in Main Tube - Objective End - 10 (Click to go to page) ProtoStar FlockBoard Material trimmed and placed back in Main Tube - Focuser End - 11 (Click to go to page) ProtoStar FlockBoard Material trimmed and placed back in Main Tube - Down tube view - 12 (Click to go to page)
ProtoStar FlockBoard Material trimmed and placed back in Main Tube - Down tube view with Focuser Backplate fitted at end of tube - 13 (Click to go to page) ProtoStar FlockBoard Material trimmed and placed back in Main Tube - Down tube view with Focuser Backplate removed and holes cut out around guidescope nuts inside tube - 14 (Click to go to page) ProtoStar FlockBoard Material trimmed and placed back in Main Tube - Down tube view with Focuser Backplate removed and holes cut out around guidescope nuts inside tube - close-up - 15 (Click to go to page) ProtoStar FlockBoard Material trimmed and placed back in Main Tube - Down tube view showing cut outs for counterweight sliding bar - 16 (Click to go to page) ProtoStar FlockBoard Material trimmed and placed back in Main Tube - Showing how well the flocking material absorbs light - 17 (Click to go to page)
Sacrificial circle of plywood use to make the baffles - 1 (Click to go to page) Bosch Laminate Trimmer with Jasper Circle Guide cutting jig use to cut out the baffles - 2 (Click to go to page) Tracing out the four 6.7" baffles onto 1/4" Lexan (Polycarbonate)- 3 (Click to go to page) Drilling 1/8" holes in the center of the 1/4" thick Lexan (Polycarbonate) four 6.7" baffles onto - 4 (Click to go to page) 1/8" rod inserted through the Lexan and into the sacrificial plywood - 5 (Click to go to page)
1/4" up-cut router bit for cutting out the baffles - 6 (Click to go to page) Setting the cut depth of the 1/4" up-cut router bit for cutting out the baffles - 7 (Click to go to page) Initial plunge cut through the polycarbonate and into the sacrificial plywood substrate. - 8 (Click to go to page) First baffle cut out using the laminate trimmer/ Jasper circle cutting guide combination - 9 (Click to go to page) Third baffle being cut out using the laminate trimmer/ Jasper circle cutting guide combination - 10 (Click to go to page)
                                                       

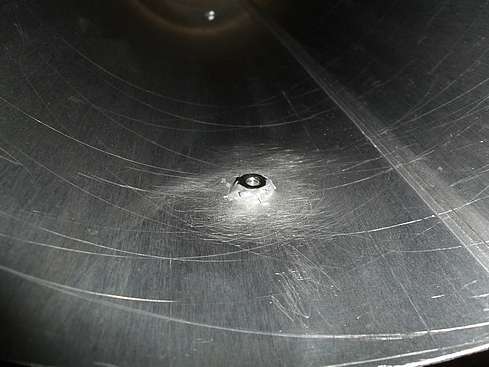
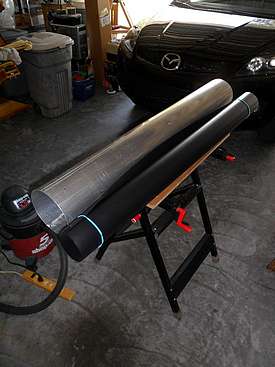
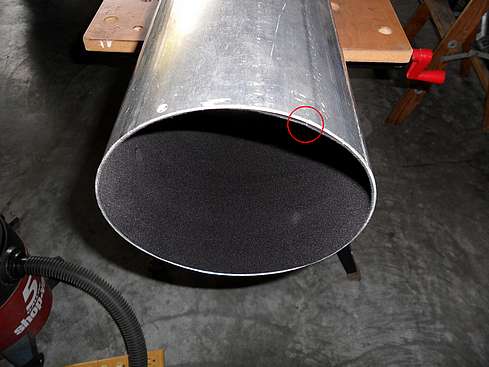
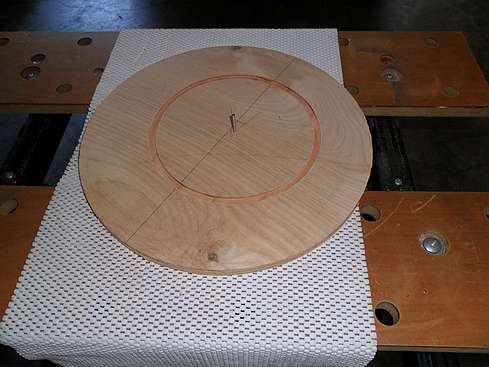
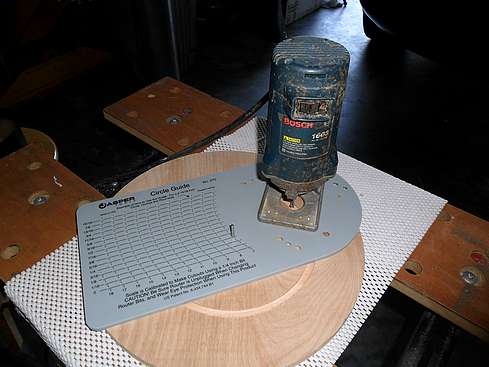
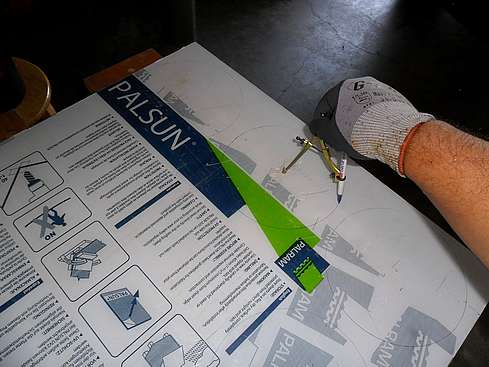
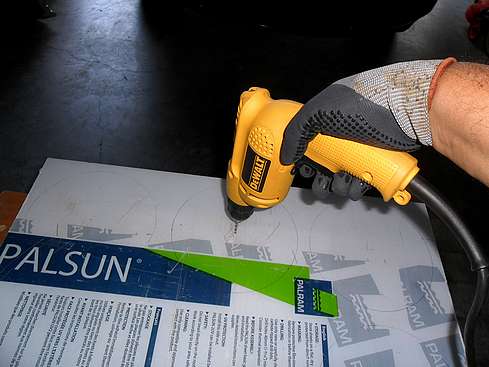
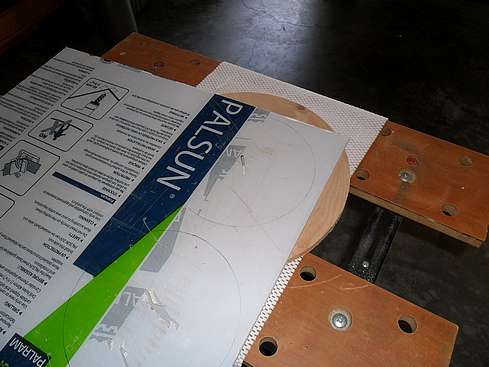
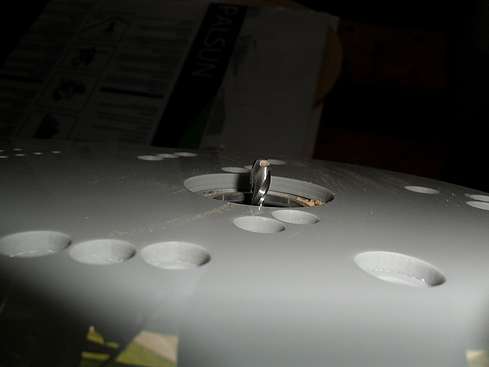
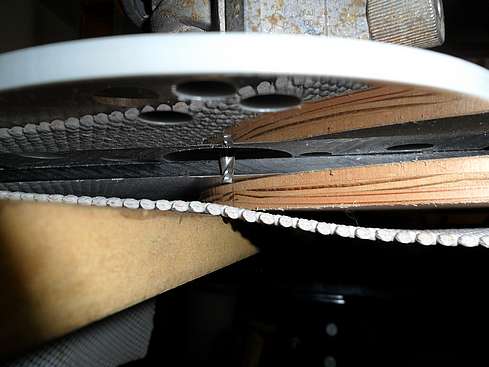
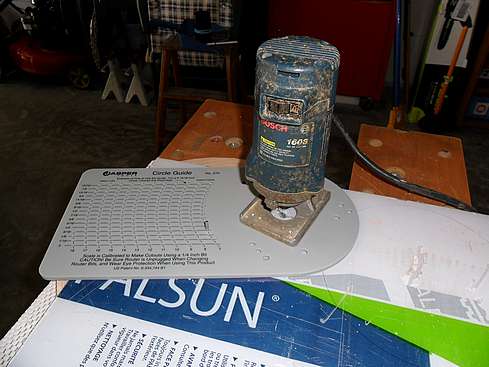
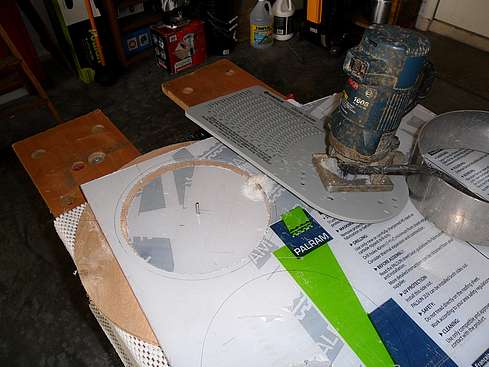
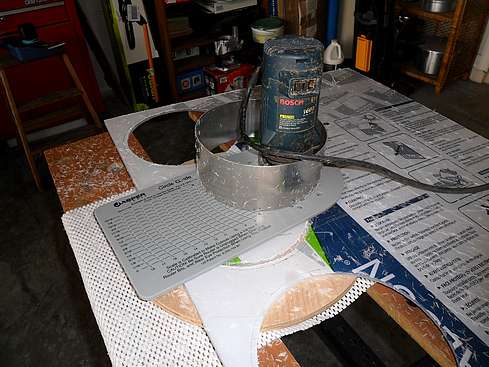
Section 5 of 10 covers the epoxying of the nuts for the guide scope and counterweight system to the inside of the main tube. Along with cutting the ProtoStar FlockBoard to size to fit in the main tube, routing out of the four (4) knife-edge baffles begins. Again, if you have any questions or comments, please email us at: 

vsc-astronomers@vega-sky-center.com
 

Back to Page 4 of 10 Page 5 of 10 Go to Page 6 of 10