SAO JAEGERS 6 INCH F/10 "GELINDA J. DAWSON" REFRACTOR OTA BUILD OVERVIEW

Page 4 of 10


Filing final sized holes drilled in Main Tube to receive Lens Cell - 4 (Click to go to page) Filed final sized holes drilled in Main Tube to receive Lens Cell - 5 (Click to go to page) Close-up photo of Rear Lens Cell drilled for attachement to Main Tube - 6 (Click to go to page) Close-up photo of Rear Lens Cell aligned with drilled hole in Main Tube - 7 (Click to go to page) 1/16-inch starter holes drilled in Main Tube to receive the Focuser Backplate - 1 (Click to go to page)
1/8-inch final sized holes drilled in Main Tube to receive the Focuser Backplate - 2 (Click to go to page) Prepping Focuser Backplate to attach to Main Tube - 3 (Click to go to page) Aluminum Tape divided into strips for Focuser Backplate - 4 (Click to go to page) Aluminum Tape filler strips to wrap around Focuser Backplate - 5 (Click to go to page) Aluminum Tape filler strips being wrapped around Focuser Backplate - 6 (Click to go to page)
Aluminum Tape filler strips being smoothed around Focuser Backplate - 7 (Click to go to page) Aluminum Tape filler strips being smoothed around Focuser Backplate - 8 (Click to go to page) Aluminum Tape filler strips completed on Focuser Backplate - 9 (Click to go to page) Focuser Backplate test fit to Main Tube after adding filler strips - 10 (Click to go to page) Drilling holes in Dew Shield to attach to Rear Lens Cell (Click to go to page)
Test Fit of Main Tube components (Click to go to page) Prepping for Guide Scope Bar - 1 (Click to go to page) Prepping for Guide Scope Bar - 2 (Click to go to page) Drilling holes for Guide Scope Bar - 3 (Click to go to page) Drilled holes for Guide Scope Bar - 4 (Click to go to page)
Drilled holes for Guide Scope Bar - 5 - Inside Tube (Click to go to page) Sanding drilled holes for Guide Scope Bar - 6 - Inside Tube (Click to go to page) Buffing sanded drilled holes for Guide Scope Bar - 7 - Inside Tube (Click to go to page) Cleaning buffed and sanded drilled holes for Guide Scope Bar - 8 - Inside Tube (Click to go to page) Two-part Epoxy for afixing nuts inside tube for Guide Scope Bar - 9 (Click to go to page)
Blending Two-part Epoxy for afixing nuts inside tube for Guide Scope Bar - 10 (Click to go to page) Applied Two-part Epoxy to nuts inside tube for Guide Scope Bar - 11 (Click to go to page) Test aligning Sliding Counterweight Bar to drilled holes in Main Tube - 1 (Click to go to page) Drilled holes for Sliding Counterweight Bar in Main Tube - 2 (Click to go to page) Sanded and buffed drilled holes for Sliding Weight Bar in Main Tube - 3 (Click to go to page)
                                                       

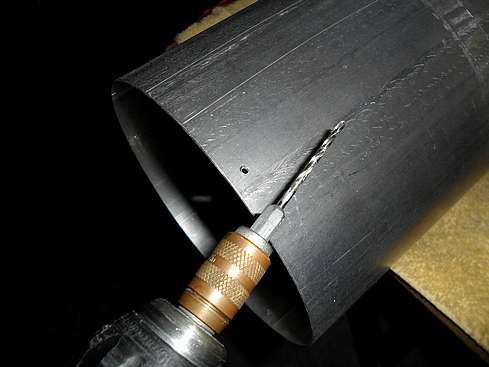
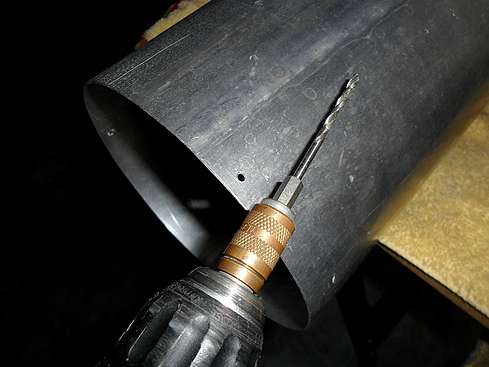
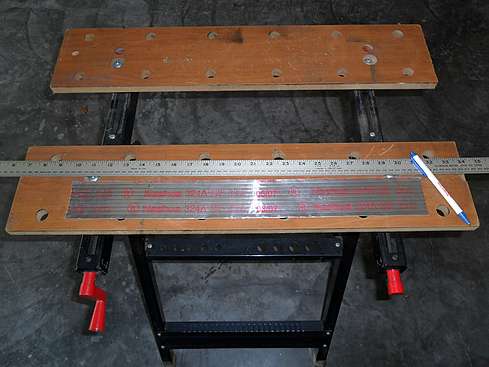
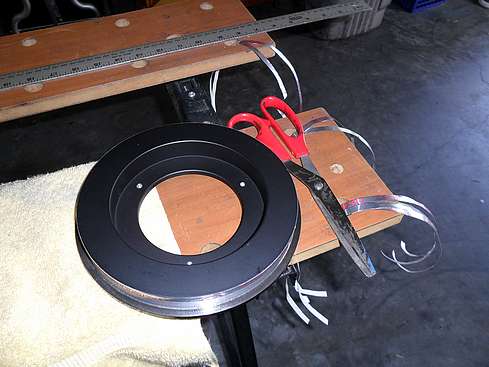
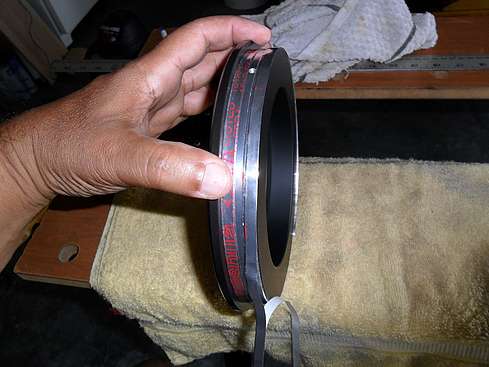
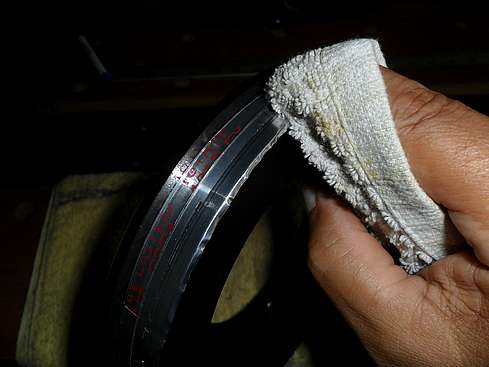
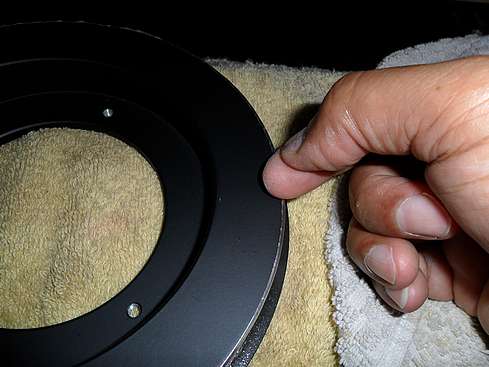
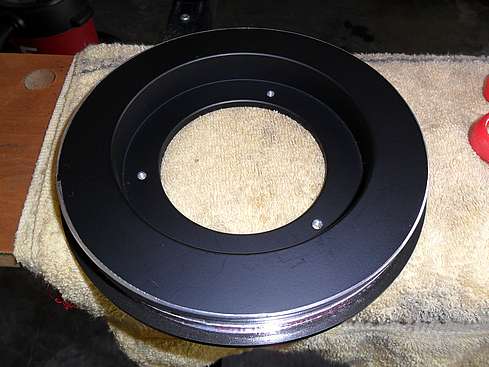
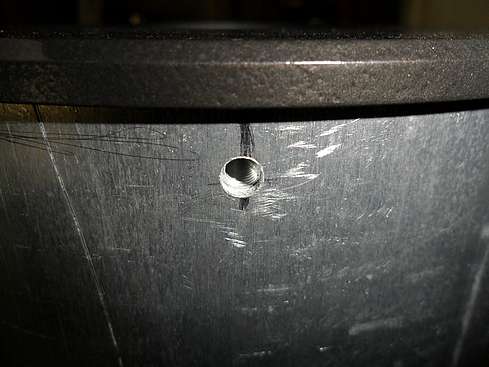
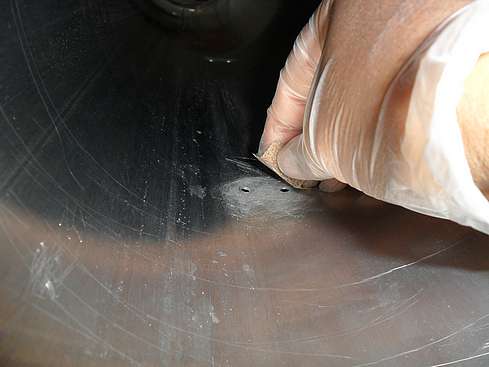
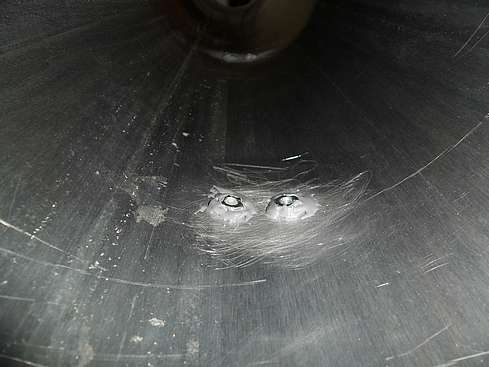
Holes were cut in the rear lens cell for attaching of the dew shield. This sections also covered the repairing of the focuser backplate so that it would fit inside of the main tube better, and preparation to install the internal nuts for connecting the guide scope and counterweight system. Again, if you have any questions or comments, please email us at: 

vsc-astronomers@vega-sky-center.com
 

Back to Page 3 of 10 Page 4 of 10 Go to Page 5 of 10